Monday, September 30, 2013

1st Halloween Tutorial!

Hey there! Today i'm going to be starting an ongoing October theme. Halloween! I'm going to try to get 2 Halloween nail art tutorials each week out there for you guys! I don't know about you guys, but I love Halloween! Its a fun and creepy holiday. Even though I'm to old to trick or treat, I always get to have some candy.

But first i'm going to tell you guys about a new site I found out about the other day. Its called Trends in Nails. Trends in Nails is a site where you can find out about nail bloggers from all around the world. If you are a blogger then you can register you blog to the site, and it will be displayed under your country. Like if you want to find me, you just click on the American flag and scroll until you find Kacey's Nails. I think its a great idea for bloggers and blog lovers alike. If you are a blogger, it is a great way to get noticed. If you are a blog lover (nail art blogs for this site) then it is a great way to find new blogs to read! So go check out the site and while you are there, go give me a like! ;)

So back to the tutorial. This is a technique that I saw on Pinterest that I reinvented into my own method. Its a lot like water marbling, actually almost exactly like it. Except you spray rubbing alcohol on it with a sprayer to get a cool effect. 

Here is what you will need for this nail art design:
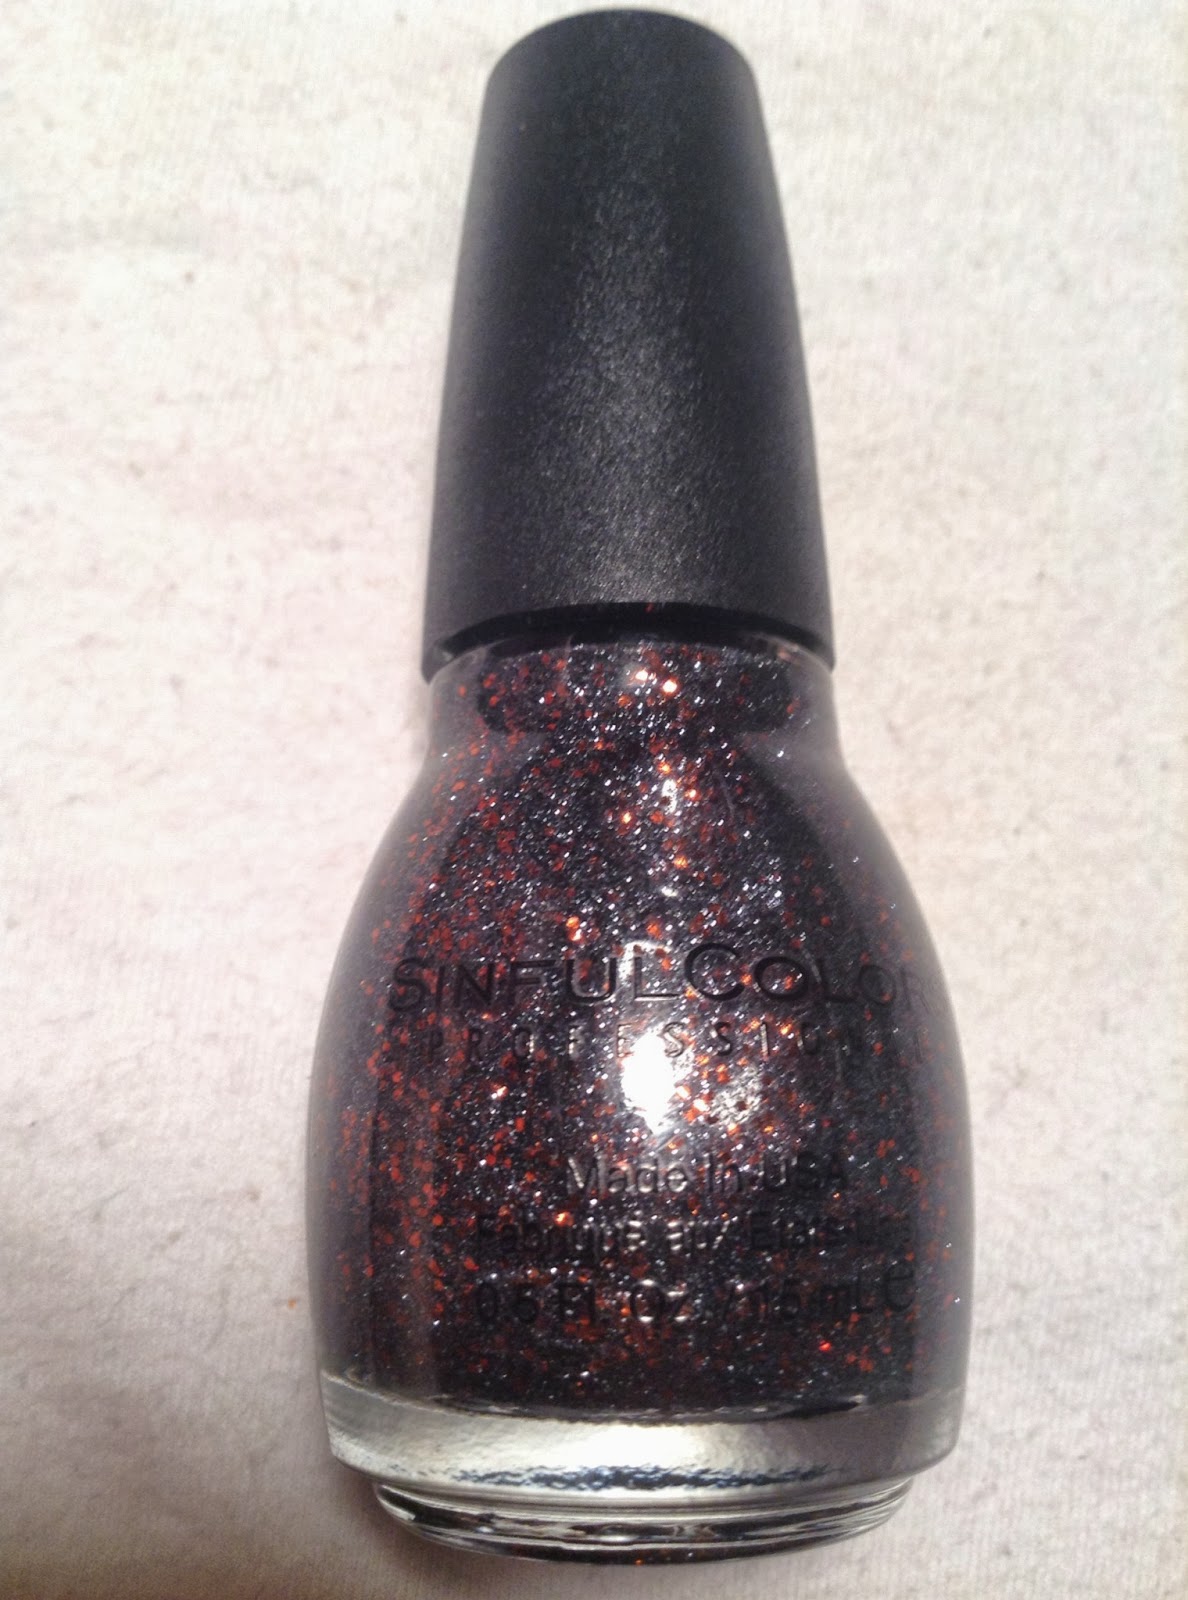
  • 2 polishes (If you want it be halloween like, use a black and another color like red, orange, white, or nude.)
  • A cup
  • Bottled or filtered water
  • A toothpick
  • Acetone
  • A brush or Q-Tip (I prefer a brush for clean up but its all up to you.)
  • Base coat & top coat
  • Rubbing alcohol
  • Spray Bottle
 Step one:

First fill up your cup with water. I use this cup for my water marbling, so that is why it is super dirty. Make sure you use bottled or filtered water, it works better.

Step Two:

Next paint on your base coat. I guess this step is optional but highly recommend.

Step 3:

Next paint on your lighter color. Like I said earlier, If you want to go Halloween style go red, orange, white, or nude.

Step 4:

When your nails are dry, take your black polish and let it drip into the water. This is the part that is exactly like water marbling. Put 4 or 5 drops in the water. Make sure you hold the brush close to the water or else the drop will go to the bottom of your cup.

Step 5:

Next put the rubbing alcohol into your spray bottle. Then spray the water. This is the tricky part because if you hold it to close the all of your black will just come in one big string and if you hold it to far away it won't do anything. Experiment and find out what works for you.

Step 6:

Next dip your nail into the water over the best part of the design. Hold you finger in the water. Then take your toothpick and get all of the black polish out of the water. Then take your finger out and clean up.

Step 7:

Finish the rest of your fingers and put on top coat. Your done! See if you guys look at my pointer finger, it isn't perfect at all. So if yours doesn't look perfect, thats fine. Its all part of the design.

If you have any questions just comment below. If you try this design, tag me in a post on facebook, twitter, or instagram! 


Friday, September 27, 2013

First Halloween Polishes of the Year!

Hey. I have been music obsessed all day. Well I am always music obsessed, but today has been a little extreme. I have been singing very loudly all day. Mostly to Panic! At The Disco and Fall Out Boy. Another random fact about me, I'm a girly girl but I love punk rock music. Yup, I'm a strange person.

So yay for Halloween polishes! I personally am a big fan of Halloween polishes because they are mysterious and epic. I bought my first two of the year today! Sinful Colors Pumpkin Spice and Black Magic. They are both beautiful glitters! Pumpkin Spice is a very populated polish with red and gold hexagons. Black Magic is an also very populated polish with orange and black circles. They are both pretty but I like Black Magic a little better. I used two coats over Sinful Colors Cloud 9 and Black on Black.

Pumpkin Spice:


Polish Info:
Brand: Sinful Colors
Name: Pumpkin Spice
Finish: Glitter
Collection: Halloween
Price: $1.99

Black Magic:


Polish Info:
Brand: Sinful Colors
Name: Black Magic
Finish: Glitter
Collection: Halloween
Price: $1.99

Thursday, September 26, 2013

Wet n Wild Disturbia

Hey there. Tomorrow is Friday! *does a little happy dance* Honestly, this week as gone by super fast. I feel like it should be at least Wednesday if not Tuesday. Maybe thats because I don't have a full week of make up work for school on my shoulders anymore.

This is the last of the polishes that were sitting unswatched. So hopefully I will be able to get some nail art in soon. I know, I'm sorry. There hasn't been any nail art on this blog in a while. I just haven't had to energy from having to recover and all from surgery. But there should be some soon! I got this polish like a week or two ago at Cub. They don't have a very big polish section at Cub but they do have some. Here is Wet n Wild Disturbia.

Disturbia is a plum color with some pink shimmer in it. There is very little shimmer though. This polish was actually pretty hard to take pictures of because I couldn't get the shimmer at all in artifical light. So the last picture is taken outside in the sun. It is literally the best I got. This is 2 coats and no top coat.


Polish Info:
Brand: Wet n Wild
Name: Disturbia
Finish: Shimmer
Collection: Megalast
Price: $1.99


Wednesday, September 25, 2013

L.A. Colors Jewel Tone

Hey girls! Today has been a really boring day. I did school, read, and watched movies. I know, aren't you jealous of my life? I also had to cut my nails way down. 

This polish is the other polish I got from the thrift shop. It is a really pretty glitter with different shades of blue and purple in it. In these pictures I layered it over Wet n Wild's Through The Grapevine.


Polish Info:
Brand: L.A. Colors
Name: Jewel Tone
Finish: Glitter
Collection: Color Craze
Price: $1.99

Tuesday, September 24, 2013

OPI Sorona Sunset

Hey! Today I get to go to the library and i'm like freaking out about it. I know. I am the biggest freak out there. I love books, but they also have SO MANY cds there. If you know me, you know how much I love music. So I will go to the library and get like 10 cds at a time to listen to. 

I got a great deal on this polish! I got it for only a dollar at a thrift shop. Normally, they just have bad, old polishes at the thrift shop but I always look. This time I just got lucky. I got two polishes OPI Sorona Sunset, and L.A. Colors Jewel Tone, both new. I normally just go to the thrift shop for books and cds, but hey, this was just good luck. Here is some pictures of OPI's Sorona Sunset.


Polish Info:
Brand: OPI
Name: Sorona Sunset
Collection: 1998 Painted Desert Collection
Finish: Iridiscent
Price: $8.00 


Saturday, September 21, 2013

8 Piece Wet n Wild Set!

Hello, and welcome to my lovely corner of the internet. I have an awful cold and am still healing from surgery, so I don't feel so great today. I woke up every hour or two last night just to turn over and fall asleep again. So I didn't do anything productive today. Besides putting together this post and hanging up some lights in my room. It has basically been a reading and surfing the internet day. 

I got this set from my aunt while I was in the hospital. I was super thrilled when I saw it because I love getting sets and being able to swatch them. The set came with 8 Wet n Wild polishes (4 mega lasts, and 4 fast drys) and a nail file. I have tried Wet n Wild Wild Shine, but not Megalast or Fastdry so I was pretty excited to try them out. I liked all of them but one. Thats pretty great for a set!

"Enjoy the Summer with wet n wild's 8 best-selling nail color shades!"

I Red A Good Book:

I Red A Good Book is a jelly red. It is super pretty but if you want it to be opaque I would put white under it. Other than that, the formula is great! This is 2 coats.


Heatwave:

Heatwave is a creme orangish pink or dark coral. It is super pretty and can stand on its own. The formula is great. This is 2 coats.


I Need A Refresh-Mint:

I Need A Refresh-Mint is a light greenish blue or like an aqua color. It is a creme and goes on beautifully in 2 coats. The formula is amazing. This is 2 coats. 


Through the Grape Vine:

Through the Grape Vine is a beautiful plum purple color. It has an amazing formula and you only need to coats to reach opaque. Here is 2 coats.


How I Met Your Magenta:

How I Met Your Magenta is a beautiful pink creme with gold shimmer. And thats impressive because I hate the color pink, so me saying that it is beautiful is really a compliment. The formula is okay, it needs white under if you want an opaque finish. This is 3 coats.


The Wonder Yellows:

The Wonder Yellows is a shimmery, almost foil like yellow. It is my favorite of the set. It reminds me of sun, just super pretty. The formula is great too. This is 2 coats.


Buffy the Violet Slayer:

Buffy the Violet Slayer is a shimmery deep purple. This one is my second favorite. The formula is great. This is 2 coats.


Grey's Anatomy:

Grey's Anatomy is a grey iridiscent polish with hints of green and purple. You know how there is always one polish that you just don't like in a set? Well this one is it. In the bottle it looked pretty but once it comes out of the bottle, just ugh. The formula on this polish is so awful. It takes like 4 coats to be close to opaque, it goes on super thick, takes FOREVER to dry, and between coats it moves and blobs up. Just so bad, I can't even say. This is 3 coats.


Copyright © 2014 A Polished Bookworm